
Check out process
Steps in the check out process
Before leaving the site, extra actions might be required from the visitor, such as confirm the end of its operations (check-out) at a kiosk, sign a document or print a document.
When a check-out is required for visitors, visitors can use the Self-service kiosk for the Check-out.
This leads to following steps int he process:
Language selection: this is the same as in the Registration process
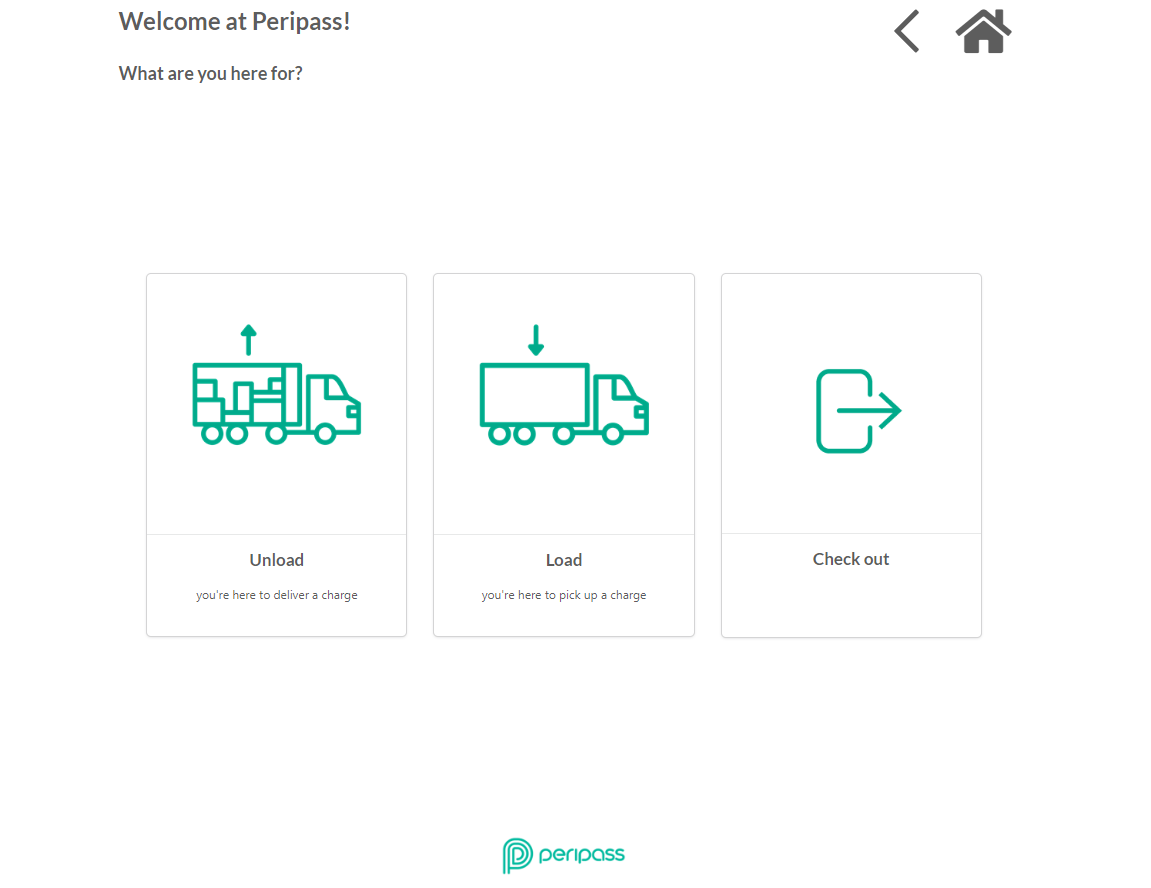
Select check out OPTIONAL
Identifying for check out
Signing documents OPTIONAL
Printing documents OPTIONAL
Show confirmation message
Perform a status change
Weighing automation: see Weighing process OPTIONAL
1. Language selectionOPTIONAL
See Registration process .
2. Select check-out OPTIONAL
The last button on the profile selection screen will always be the check out button. If the only purpose of this kiosk is to facilitate check-out, this step will be skipped.
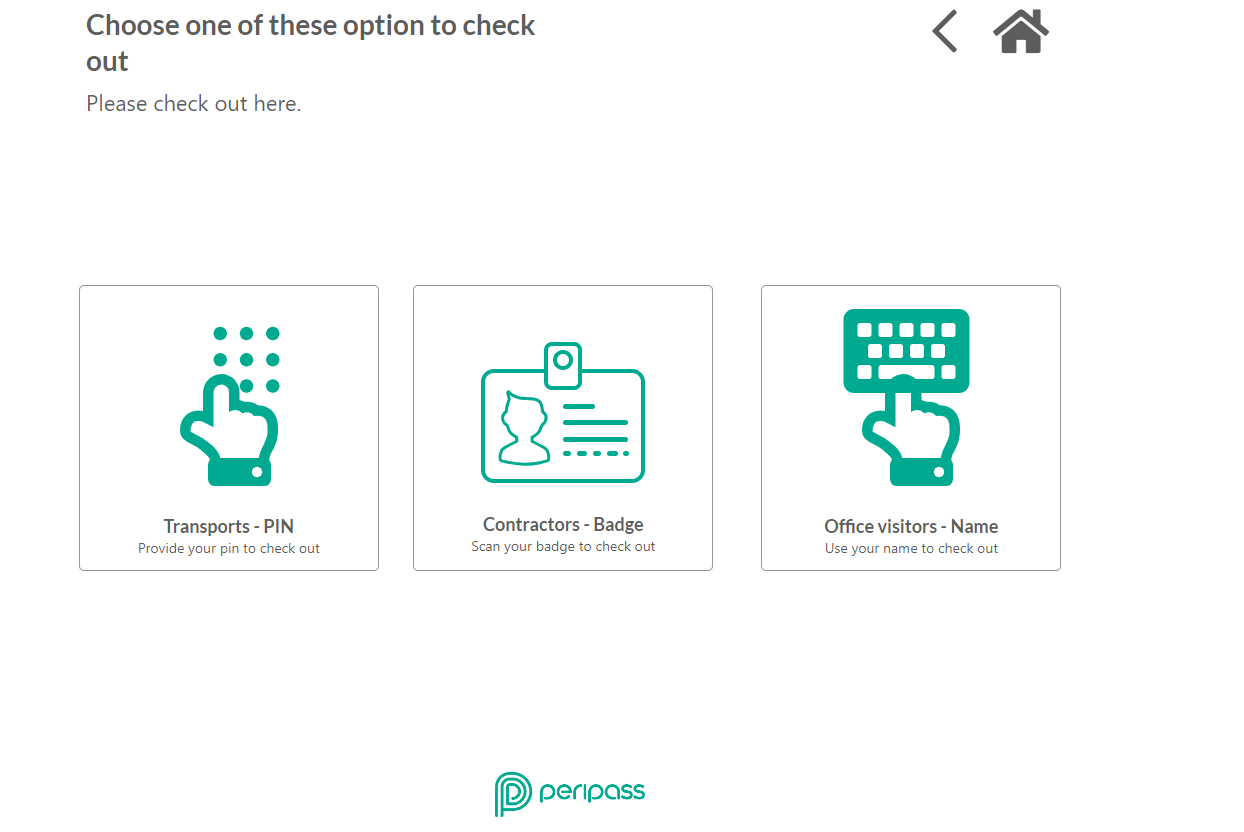
3. Identifying for check out
There are 3 types of identification on check-out:
Check-out method | Description | Use case |
|---|---|---|
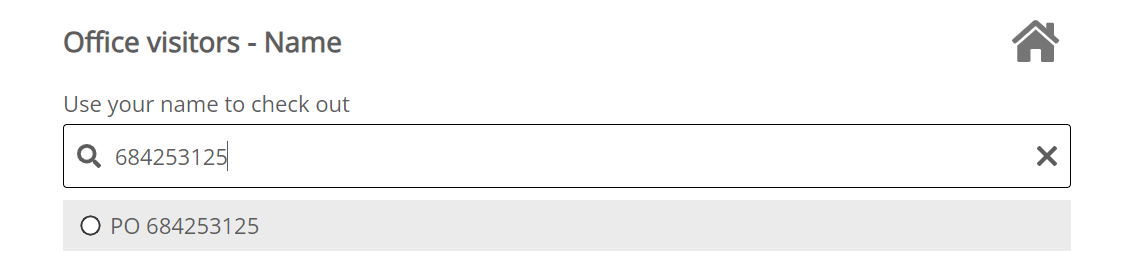
Display name | Check-out by searching and selecting their display name in a list. | Most simple option if privacy is not a concern. |
PIN-code | Check-out by entering their PIN-code. | Only possible if visitor was granted access with a pin code. |
Badge | Check-out by scanning badge | Only possible if visitor was granted access with a badge. |
Check-out using Display Name lists all possible matching visitors for selection.
Note: In certain cases it is not possible to do a check out. See later for more info.
The importance of unique display names
When using display names for checkout, it is crucial to configure a unique display name to prevent checking out the wrong person.
💡 For example, if only the first name is known, include additional details such as the company name to make the display name distinctive.
4. Signing documentsOPTIONAL
See documentation: Contactless document handling | Signing-documents
5. Printing documentsOPTIONAL
See documentation: Contactless document handling | Printing-documents
6. Show confirmation message
After check out is completed, a final message will be displayed in the screen. This message is configurable per profile.

7. Perform a status change
After check out, the visitor is transitioned to the status DEPARTED .
Check out not possible
Check out is not possible in following cases:
Either when the visitor is in one of the following statuses:
Expected
Waiting for documents
Blocked
Departed
Or when the visitor has a profile that is not allowed to do a check out on this kiosk. See “How to set up” below to change this.

How to set up
Enable Check Out on the kiosk: Configuration > Self Service Kiosks > edit a kiosk > under Basic Configuration enable the Check out feature.
Then, within the kiosk configuration, complete all information in the Check-out Configuration tab.
Lastly, decide the status the visitor should get after registering on the kiosk. You can do this also within the kiosk configuration, in the E-ticket Configuration tab.
Limit visitor that are allowed to check out on this kiosk
You can limit visitors that are allowed to check out based on their profile.
Note: don’t forget to add translations on the Check out configuration tab.