
Visitor profile
General
The Visitor Profile is used to differentiate flows throughout the entire journey of a visitor.
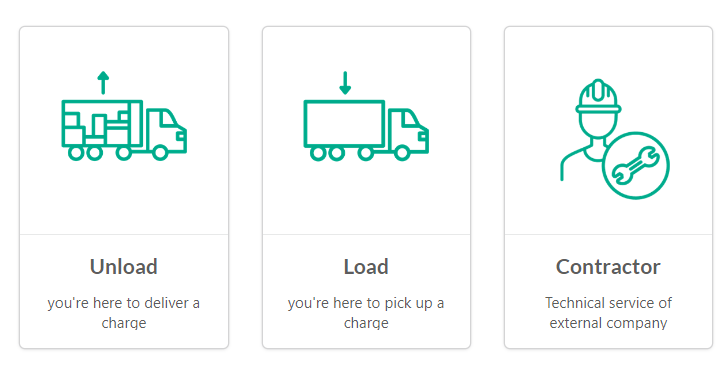
Some typical examples of profiles:
Unload - Inbound
Load - Outbound
Contractors*
Office visitors*
Parcel delivery*
*these profiles are typically used for office visitors & contractors.
A note on office visitors and contractors
In Peripass, we label the persons that visit the premises of the company, visitors. Whether the purpose of their visit is for a business meeting, providing maintenance service, or participating in the logistics operations. This purpose is defined by a visitor profile.
In the table below you can find a typical distinction of profile examples that balance more towards the office or yard functionalities of the product.
Visitors | |
|---|---|
Offices  | Yard  |
Business meetings | Inbound logistics |
Parcel services | Outbound logistics |
Contractors | Sea containers |
… etc | … etc |
Map your flows to find out which profiles you need
Profiles are related to the business process that a logistic flow or visitor flow should follow. Therefore you should always start with mapping the different business flows.
What is impacted by the profile?
The profile what defines your flow and thus has a very big impact on almost everything in Peripass.
An overview of most impacted elements:
Approval flow
Triggers & actions
E-ticket and calendar connector
Asset management
Document types
Slot tracking
Weighing
Linked custom fields
You can decide what information is relevant for a profile, using “linked fields”. The linked fields will be shown when editing or creating a visitor.
Example:
Profile Inbound has following linked fields:
Purchase order number
License plate
Driver phone number
Profile Outbound had following linked fields:
Shipment number
Slot reference
Slot start
Slot end
License plate
Driver phone number
Options when linking fields
Required and visibility options | More information |
|---|---|
Extra field | You can choose to show fields in “extra information” instead of “basic information”. This is used for technical fields that are required for automatic dispatching rules or other automations, but have little to no value for the end user. You can configure this when linking a field to a visitor. |
Required in Management Portal | When set to yes, the field is a mandatory field when creating a visitor in the management portal / through the api / in the self service kiosk. Warning: treat with care, when a value for this field is needed for data quality. As a consequence, updates to the visitor will be blocked when there is no value provided for this field. |
Use for automatic approval | When set to yes, this field will be used as a unique reference for this visitor. The reference will be used to identify the visitor and automatically approve him/her. The field will always be asked first on the kiosk. Typically used for reference numbers. |
Ask on the Self Service Kiosk | When set to yes, the field will be asked during registration of this profile on the Self Service Kiosk. Typically used for phone numbers |
Required on the Self Service Kiosk | When set to yes, the field will be mandatory during registration of this profile on the Self Service Kiosk. Typically used for phone numbers |
Visible in the queue on the dispatch dashboard | When set to yes, the field will be shown in the waiting queue on the dispatch dashboard. It is a best practice to limit this, to reduce clutter for the dispatcher. |
Let user insert/modify value on dispatch | When set to yes, a prompt will be shown after dispatch where this field can be altered. Use with care as this will have an impact on the ease of use for dispatchers. |
Data from unlinked fields
It is possible to save a field value on a visitor, although the field is not linked to the profile. Some cases:
Change the profile of the visitor, after data was saved.
Remove a linked field from the profile, after visitors with data were saved.
Use the API to save data.
In this case Peripass will show this fields in the “extra fields” section.
Example:
A contractor profile has following fields: “Name”, “Company” and “Phone number”
A office visitor profile has following fields: “Name”, “Department” and “Phone number”
A visitor visited Peripass before as contractor and is now pre-registered as office visitor.
The custom fields displayer are:
Name: Tommy
Company: Engie
Phone Number +32 499 12 34 56
Department: empty
Overwriting field values when registerring multiple times with the same visitor
Custom field values are saved on the visitor and not on the profile. A field that is used on multiple profiles, will keep its value. The field will be pre-filled during the new registration and will be overwritten with any new value.
The following difference between logistics visitors and office visitors is a consequence of the fact that each custom field can have only one value per visitor:
Office visitors are re-used with multiple profiles for multiple expected visits
Field like name or phone number are stored and don’t have to be provided every visit
Logistic visitors are created newly and have only a single profile and a single visit.
Fields like transport number or product type change every time a driver visits the same site
Display Name
The display name helps you quickly identifying your visitor.
You can construct the display name yourself using fixed text and information coming from custom fields that are linked to the profile.

Example:
Logistics profile
Configuration: PO - PO Number
In the visitor grid: PO - 20EE98292
Contractor profile
Configuration: Company - Name
In the visitor grid: Daikin - John Smith
Driver communication & translations
Per profile you can configure following translations:
Profile name, icon and description (mainly used on the check-in process). Don’t forget to check-out our library of pre-made icons: Public icons
Kiosk messages
Registration successful: explain visitors what to do after their registration.
Error handling: explain visitors what to do in case of issues.
Per profile, you can also configure driver communication using text messages. This works using Triggers & Actions .
Approval flow
You must choose what happens after approving a visitor in Peripass.
Choose the status a visitor should be set to
Typically WAITING FOR DISPATCH for logistics visitors.
Typically CHECKED IN for office visitors and contractors.
Choose default waiting queue (which is located on a dispatch dashboard) to which a logistics visitor should be added.
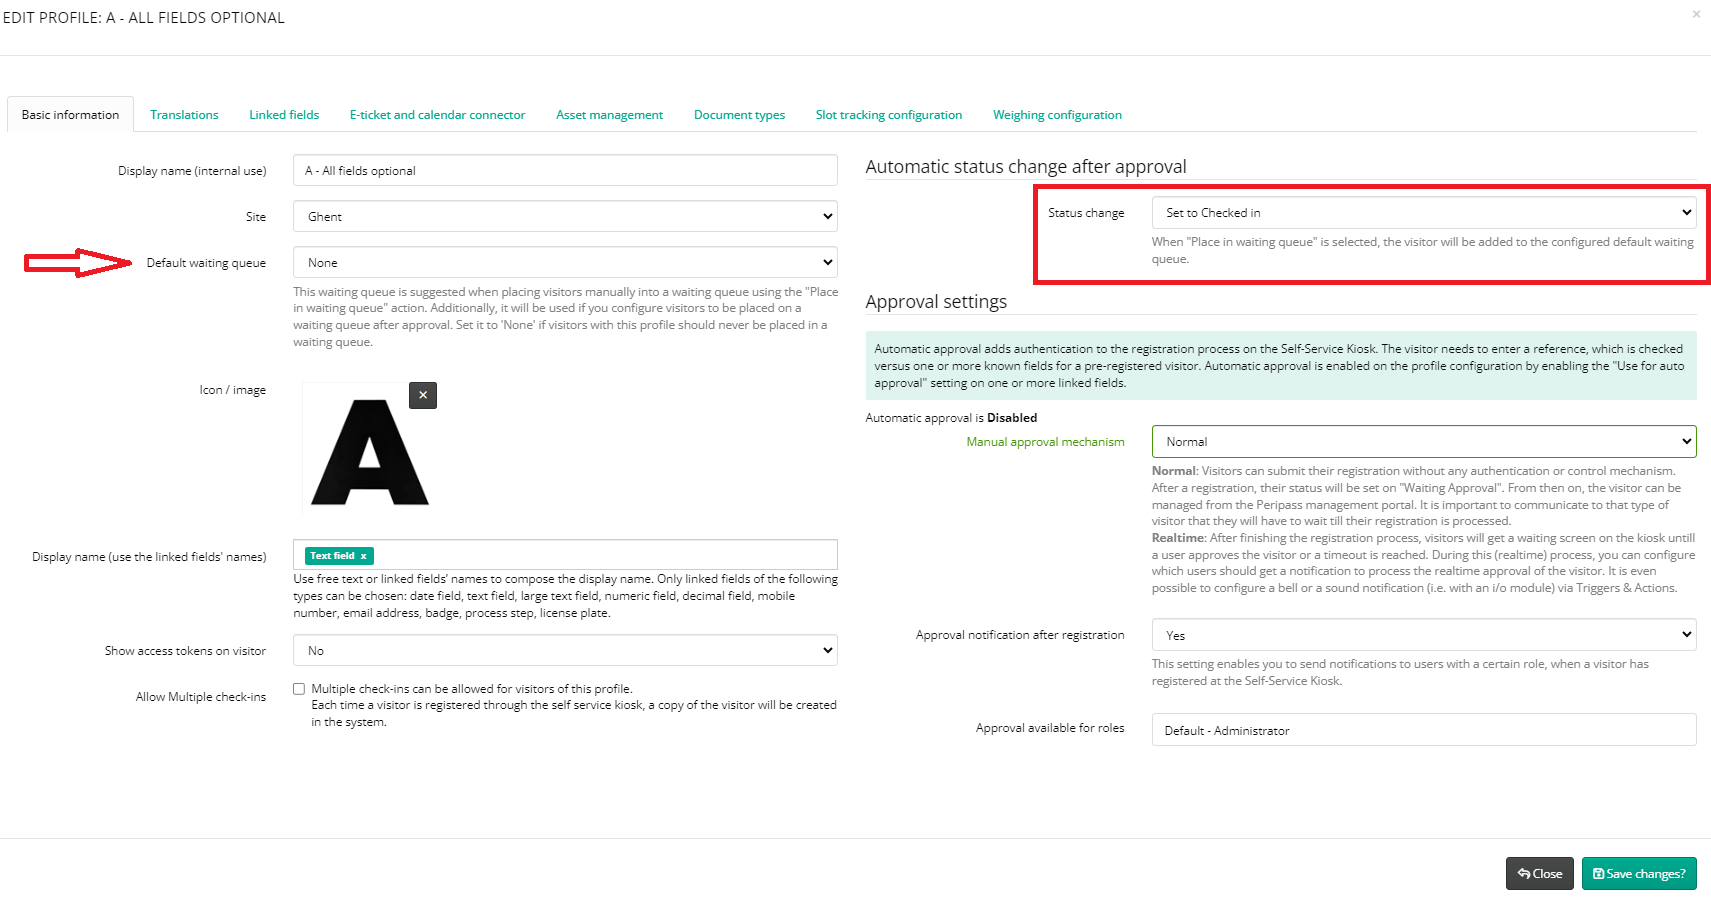
Result status configuration after (automatic) approval.